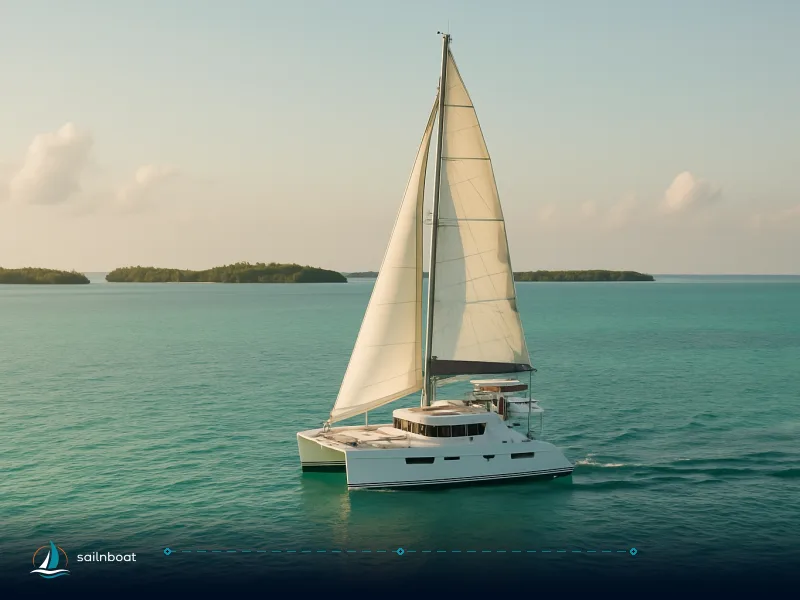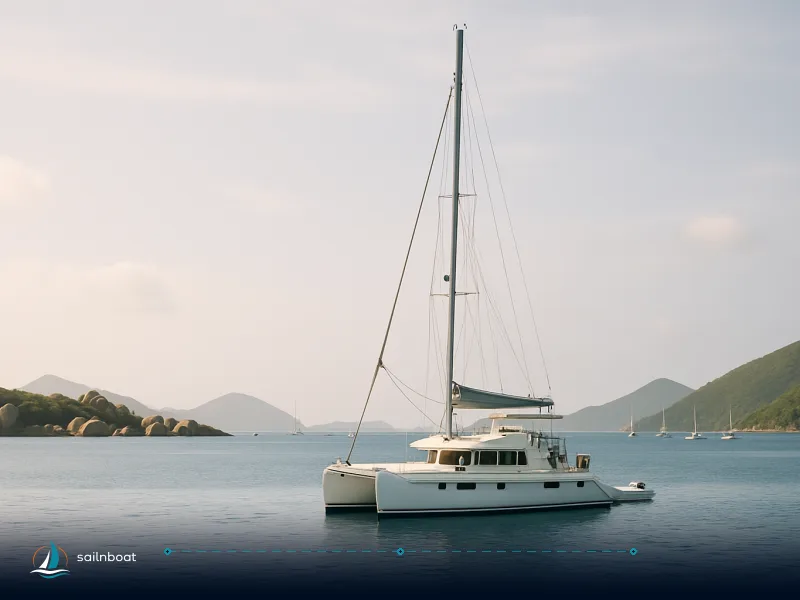
7-Day Belize Sailing Itinerary: Placencia to the Barrier Reef
A practical, day‑by‑day seven‑day sailing plan from Placencia that links short reef‑sheltered legs to anchorages at Monkey River, Tobacco Caye, South Water and the Silk Cayes.

To sail the Belize Barrier Reef from Placencia in seven days, follow a sequence of short reef‑sheltered hops that put you overnight at Monkey River, Tobacco Caye, South Water Caye, Laughing Bird and the Silk Cayes before a final run to the outer reef and back to Placencia. Now the day‑by‑day plan and the operational detail you actually need.
Overview of Your Belize 7-Day Itinerary
This itinerary is built around sheltered reef passages rather than long open‑ocean crossings — that’s the practical reason charters based in Placencia favour the southern reef (shorter daily legs, plenty of snorkel/diving opportunities, and community moorings). Most sample seven‑day Placencia programs cover roughly 85–95 nautical miles in total; individual legs are planned so you normally spend 1.5–4 hours underway per day on a typical 9–10 knot cruising speed.
What this week delivers
- Short sails that leave time for at least one shore or snorkel stop each day.
- Overnight options on sand / seagrass anchorages or on community / reserve moorings at Tobacco Caye and South Water Caye.
- Visits inside several managed areas (Laughing Bird, South Water Caye, Gladden Spit & Silk Cayes) where reserve fees are collected.
Operational trade‑offs
- Trade: sheltered, shorter legs but more navigation around coral heads and channels (requires careful lookout and some local knowledge).
- If you want marinas, fuel and provisioning midweek, the Ambergris Caye route (northbound) is better — but it turns several short days into longer, more exposed passages.
Quick comparison table — day legs at a glance
| Day | Route (typical) | Distance (nm, approximate) | Est. sail time (hrs) | Difficulty (1–5) |
|---|---|---|---|---|
| Day 1 | Placencia → Monkey River | 11–13 nm | ~2 | 2 |
| Day 2 | Monkey River → Tobacco Caye | 12–15 nm | ~2–3 | 3 |
| Day 3 | Tobacco Caye → South Water Caye (short hop / explore) | 5–10 nm | ~1–2 (plus snorkeling) | 2 |
| Day 4 | South Water Caye → Laughing Bird Caye / Silk Cayes | 8–12 nm | ~1.5–3 | 2 |
| Day 5 | Laughing Bird / Silk Cayes → Gladden Spit | 10–14 nm | ~2–3 | 4 (seasonal hazards) |
| Day 6 | Gladden Spit → (outer reef / Lighthouse area) | 12–18 nm | ~2–4 | 3–4 |
| Day 7 | Return to Placencia | 20–28 nm (varies by chosen final stop) | ~3–5 | 3 |
Notes on the numbers: these are planning figures used by Placencia‑based charter operators; actual nautical miles and times depend on exact pick‑up points, chosen channels and your vessel’s cruising speed. Sample operator itineraries and local guides show total routes in the ~85–95 nm band for similar week plans.
Day 1: Departing from Placencia
Sailing Route and Distance
Plan a short transit south or east from the Placencia harbour to the Monkey River mouth / Monkey River Town—straight‑line distances are commonly reported around 11–13 nautical miles, which is useful for provisioning and check‑out on day one. Expect roughly 1.5–2.5 hours depending on your boat and the tide.
Practical navigation notes
- The approach to Monkey River is into an estuary with shifting shoals; leave plenty of time and use up‑to‑date charts and local waypoints. Tide and river outflow create variable depths near the mouth. Do not attempt an uncharted shore landing at night. (Safety: consult your chartplotter and local operators for an up‑to‑date approach.)
Mooring Options
- Overnighting is commonly in the lee of the Monkey River mouth or tied stern‑to in deeper water outside the bar (anchoring in sand/seagrass). There are no formal charter‑style mooring buoys here; expect to anchor and stern‑tie if needed.
- If you want a shore visit, small local skiffs operate river trips. Port and ranger services are minimal.
Permit Requirements
- Monkey River is not inside the named marine reserves on this route; no national marine reserve fee is normally charged just for the river mouth. Still check with your charter base or local rangers if you plan to travel upriver or land ashore — fees or local contributions may apply in some cases.
Difficulty Rating
Difficulty: 2/5 — sheltered coastal leg but watch for river current, shifting shoals and local traffic; suitable for crews comfortable handling stern‑ties and close‑quarters anchoring.
Day 2: Sailing to Tobacco Caye
Sailing Route and Distance
From Monkey River or Placencia head east/northeast to Tobacco Caye. Typical planning distances for this leg are in the 12–15 nm range; planning 2–3 hours at an average cruising speed gives you time for an afternoon snorkel on arrival. Operator itineraries commonly place Tobacco Caye as a short second‑day stop from Placencia.
Mooring Options
- Tobacco Caye has community moorings and a small anchorage; operators and the local marine station maintain a few buoys. Use a government or community buoy where provided — it reduces coral damage and avoids awkward anchoring in shell beds.
- On calm nights you can anchor in sand areas inside the lee; avoid anchoring on reef.
Permit Requirements
- Tobacco Caye lies within the South Water Caye marine reserve complex. Belize’s marine reserve rules typically require an entrance fee (the Fisheries Department’s fee schedule historically lists BZD 10 per person per day or BZD 30 per week — BZD is the Belize dollar, pegged 2:1 to USD). Many operators collect the fee in USD on boarding, so expect it to appear on invoices as either BZD or a USD equivalent. Budget for the reserve fee on arrival (the amount is administered by Fisheries/SEA and can be charged per person).
Difficulty Rating
Difficulty: 3/5 — moderate: reef channels and local traffic require careful navigation; seas can pick up in an onshore breeze. Good for intermediate crews with reef‑navigation experience.
Day 3: Exploring South Water Caye
Activities and Highlights
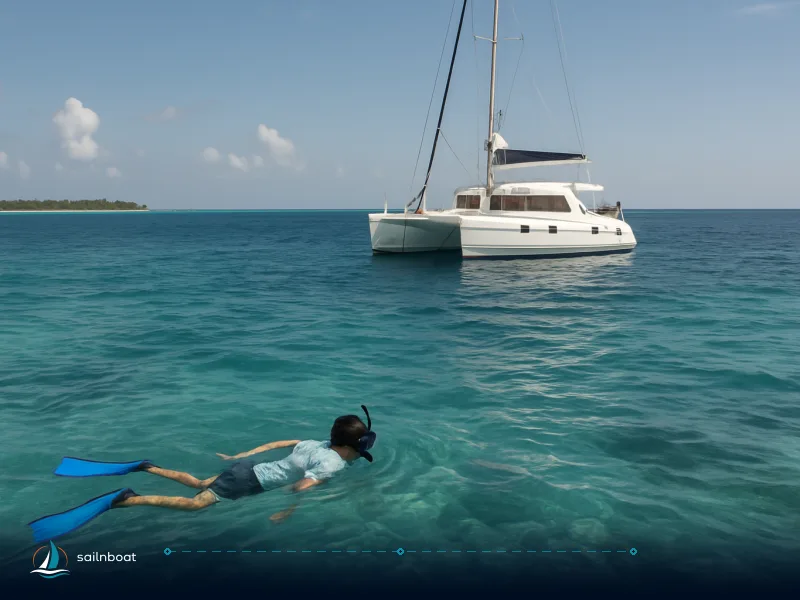
- Use Day 3 to anchor at or short‑hop into South Water Caye (excellent snorkel sites on both windward and lee sides). Expect long snorkel sessions, reef walks from the dinghy dock and possibly a short charter dive if your schedule allows.
- South Water is also a hub for local dive operations and research stations — good for dive bookings and provisioning.
Mooring Options
- South Water Caye has managed mooring buoys; the public use program and community operators maintain buoys near primary snorkel sites and the village. Where moorings exist, take them — reserve staff encourage mooring use to protect coral.
Permit Requirements
- As with Tobacco Caye the South Water Caye Marine Reserve applies an entrance fee. Official schedules historically list BZD 10/day (≈US$5) or BZD 30/week for non‑Belizeans; many operators bundle the charge into excursion invoices. Expect to pay or have the operator account for reserve fees during your visit.
Difficulty Rating
Difficulty: 2/5 — sheltered, short local hops; great to rest and let crew recuperate.
Day 4: Sailing to Laughing Bird Caye
Sailing Route and Distance
Sail from South Water or Tobacco north/northeast to Laughing Bird Caye (or vice versa depending on exact routing). Typical planning distance for a leg within the southern reef group is around 8–12 nm; expect 1.5–3 hours including slow navigation through marked channels. Several Placencia operators include Laughing Bird as a half‑day or overnight stop.
Mooring Options
- Laughing Bird Caye National Park is co‑managed and has a visitor presence; mooring buoys are sometimes installed at primary visitor sites, but availability can be limited on busy days. If no buoy is free, anchor in a sandy patch in the lee — avoid seagrass meadows and marked conservation zones.
Permit Requirements
- Laughing Bird Caye is a National Park within the Barrier Reef system. The Fisheries Department’s visitor fee regulations have listed an entrance fee (often BZD 10/day / BZD 30/week for foreign visitors) — operators typically collect this as part of your day‑trip or overnight fees. Expect the reserve fee to be charged either at the ranger table or included by your operator.
Difficulty Rating
Difficulty: 2/5 — short, sheltered legs around the cayes; watch swells on the windward side and avoid reef heads at night.
Day 5: Heading to Gladden Spit
Sailing Route and Distance
From the Laughing Bird / Silk Cayes area sail to Gladden Spit and the Silk Cayes. The Silk Cayes sit roughly 20–30 nm east of Placencia depending on the exact caye; plan 2–3 hours for this hop from the immediate southern caye cluster. The Gladden Spit area is a protected spawning site and is frequently visited for whale‑shark season trips.
Mooring Options
- The Silk Cayes have mooring buoys serviced by reserve staff and are a common overnight or day‑use stop. Use government/community buoys where present. Access to small sandy cays is often by dinghy; island facilities are minimal.
Permit Requirements
- Gladden Spit & Silk Cayes Marine Reserve have a visitor fee regime and, critically, a separate seasonal whale‑shark viewing fee during the spawning months; management documentation shows a mandated whale‑shark season fee (commonly around US$15 per person during the season). Check whether your operator includes this in the trip price for March–July windows.
Difficulty Rating
Difficulty: 4/5 — this leg is rated higher because of the need to respect seasonal regulations (whale‑shark operations), potentially choppier water in exposed cuts and the need for precise navigation near spawning‑aggregation zones. Do not attempt whale‑shark interactions without a licensed guide.
Day 6: Discovering the Barrier Reef
Sailing Route and Distance
Use Day 6 to move outward toward the Barrier Reef proper (Silk Cayes → outer reef anchorages or a transit that positions the boat for a longer Day‑7 return). Typical outer reef options include day excursions to Lighthouse Reef or staying on reef‑edge cayes; expect a longer sail if you head toward Lighthouse Reef. Placencia‑based operators describe Lighthouse Reef trips as long day options (Lighthouse/Blue Hole is at the outer edge and can be a long transit from Placencia).
Mooring Options
- Lighthouse Reef / Half Moon Caye is managed by the Belize Audubon Society; moorings and ranger presence exist at Half Moon Caye and Long Cay anchorages, but these are limited and often booked through operators. For non‑operated yachts, plan to anchor in the lee and be prepared for long open‑water navigation to reach the atoll.
Permit Requirements
- Lighthouse Reef and Half Moon Caye carry higher park fees (the Belize Audubon Society charges the natural‑monument fees — the combined Blue Hole + Half Moon Caye entry is commonly quoted around US$30–40 per person on many operator pages). Expect this as an extra charge and budget accordingly if you plan the outer‑atoll visit.
Difficulty Rating
Difficulty: 3–4/5 — moderate to challenging: if you stay near the inner reef things are 3/5, but any transit toward Lighthouse Reef or the Blue Hole raises the difficulty because of open water, distance and limited anchor options.
Day 7: Return to Placencia
Sailing Route and Distance
The return leg length depends on your last anchorage. From the outer Silk Cayes / Gladden area expect a 20–28 nm run back to Placencia; allow 3–5 hours depending on conditions. Operators commonly reserve the final morning for a short snorkel and then a longer final passage to the base.
Mooring Options
- Return to Placencia harbour or the charter base marina. Placencia harbours have limited dock space — confirm your arrival time with the base (most charters have a mandatory check‑in/inspection window on return day and specific handover times). If you plan a late return, communicate this when you check out so the base can accommodate inspection and refuelling.
Permit Requirements
- No new reserve permits are required simply to return to Placencia; ensure you have kept tickets/receipts for reserve fees paid during the week as some rangers or the Fisheries Department may audit collections or request proof from operators.
Difficulty Rating
Difficulty: 3/5 — varies with the wind and sea state; the final day often has a longer transit so account for fatigue and fuel margins.
Practical logistics, costs and safety tips
-
Park fees and currency: Reserve fees are set in Belize dollars (BZD) in official documents — for many southern reserves the Fisheries Department lists BZD 10/day or BZD 30/week for visitors (BZD 2 = USD 1). In practice many operators collect an equivalent USD charge and will itemise it on your charter invoice; budget at least US$5–15pp across several stops for reserve fees, more if you plan Blue Hole/Half Moon or whale‑shark season visits.
-
Moorings and anchoring: Many popular cayes (Tobacco, South Water, Silk Cayes) have government or community mooring buoys; use those to avoid anchor damage to coral. Management plans explicitly recommend mooring use at key snorkel/dive sites. Carry a good length of chain and be prepared to stern‑tie on exposed nights.
-
Fuel and provisioning: Placencia is the main provisioning and refuelling point for week charters. If you plan to push farther (Lighthouse Reef or north to Ambergris), refuel and reprovision in Placencia or schedule stops at larger marinas — provisioning in the cayes is limited and often expensive.
-
Weather windows and sea state: The southern reef is generally sheltered, but reef channels can funnel swell; in the wet season (roughly June–November) expect more variable winds and the possibility of squalls. Always check local forecasts and choose sheltered anchorages if any seas build. Operators commonly advise departure windows early in the morning for longer crossings.
-
Licences and insurance: Many charter companies ask for proof of competency (ICC, RYA, USCG‑equivalent experience) and a VHF operator certificate can be requested by some operators; missing qualifications can affect liability handling. Distinguish what the operator requires for handover from formal legal requirements. (Regulatory specifics vary by country and operator; check with your charter agency.)
Alternative route: Placencia → Ambergris Caye (comparison)
Why consider Ambergris Caye
- Ambergris (San Pedro) and Caye Caulker offer marinas, restaurants, dive operators and easy access to Hol Chan and Shark Ray Alley; good if you want infrastructure and shorter day‑boat dives to famous sites.
How it compares operationally
- Distance and exposure: The northbound passage from Placencia to Ambergris/San Pedro is significantly longer and includes open water — expect multiple longer days or an overnight repositioning; many operators make this a 14‑day route rather than squeezing it into a week. A direct Placencia→Ambergris transit is comparable to an 80–90 nm repositioning and changes the character of the holiday from short reef hops to longer passages.
- Infrastructure: Ambergris has marinas, fuel and parts availability; that lowers operational friction if you need spares or a marina berth.
- Trade‑off: Ambergris route = more infrastructure, longer sails, more exposure to open sea. Southern Placencia route = shorter, more protected sailing, more time at snorkel sites and quieter, community‑run caye experiences.
Plan your decision around what you value more: sheltered short hops and reef time (Placencia south route) or more infrastructure and longer open crossings (Ambergris route).
Plan checklist before you go
- Confirm operator’s included fees (fuel, moorings, reserve fees).
- Get the handover checklist from the base (fuel policy, inspection time, required certificates).
- Carry paper/electronic receipts for park fees — rangers occasionally ask to see them.
Plan your Belize sailing adventure today.
Frequently Asked Questions
A typical week links Placencia → Monkey River → Tobacco Caye → South Water Caye → Laughing Bird Caye → Gladden Spit/Silk Cayes → Lighthouse Reef (or outer reef) and returns to Placencia; days use short reef‑sheltered legs with overnight anchorages at the named cayes.
Plan approximate legs of 10–25 nm per day; many operators design the week to total ~85–95 nm with individual sails of 1.5–5 hours depending on boat speed and weather.
Use community or government mooring buoys at Tobacco Caye and South Water Caye where available; otherwise pick sand or seagrass anchorages in marked channels or lee sides of cayes (route includes Monkey River, Tobacco, South Water, Laughing Bird, Silk Cayes and Lighthouse Reef anchorages).
Southern reserves commonly charge BZD 10 per person/day (≈US$5) or BZD 30/week; Gladden Spit applies a seasonal whale‑shark fee (commonly higher, often USD 15 during season); Blue Hole/Half Moon Caye fees are charged by the Belize Audubon Society and are larger (~US$30–40 for the Blue Hole/Half Moon combined).
Legs across the shallow lagoon and between close cayes are generally 1–3/5; open crossings toward Lighthouse Reef or long northbound legs to Ambergris Caye are 4–5/5 because of exposed seas, longer distances and reef navigation.
The Ambergris route runs north from Placencia through larger open crossings to San Pedro (Ambergris). It requires longer open‑water passages, more time at sea, and benefits from marinas and better provisioning — trade: more infrastructure for guests but longer, less protected sailing days.
Written by
Sailnboat Editorial
The Sailnboat editorial desk covers yacht and boat chartering worldwide — routes, bases, seasons, boat types, paperwork and the practical costs that decide a trip. We are a charter marketplace, not a boat owner or a local agency: what we sell is judgement and support, so our guides are written to help you make a decision, not to sell you a specific boat. Every guide is checked against live operator and marina data before it goes out.
Fact-checked against live operator and marina data, and published under our editorial standards. Last reviewed: .