Anaho Bay Anchorage: Arrival, Holding, Depths & Shore Tips
Clear, operational advice for anchoring in Anaho Bay, Nuku Hiva: follow the local 12 m anchorage zone and 10‑boat limit, set a stern line where possible, and use the buoyed dinghy channel to land.

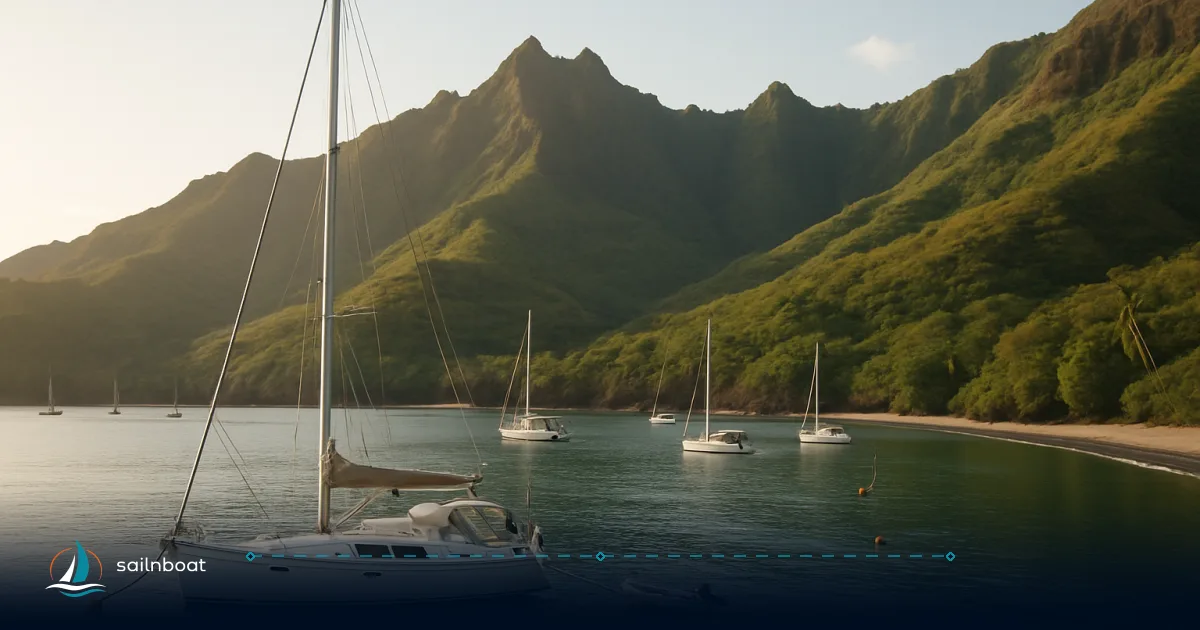
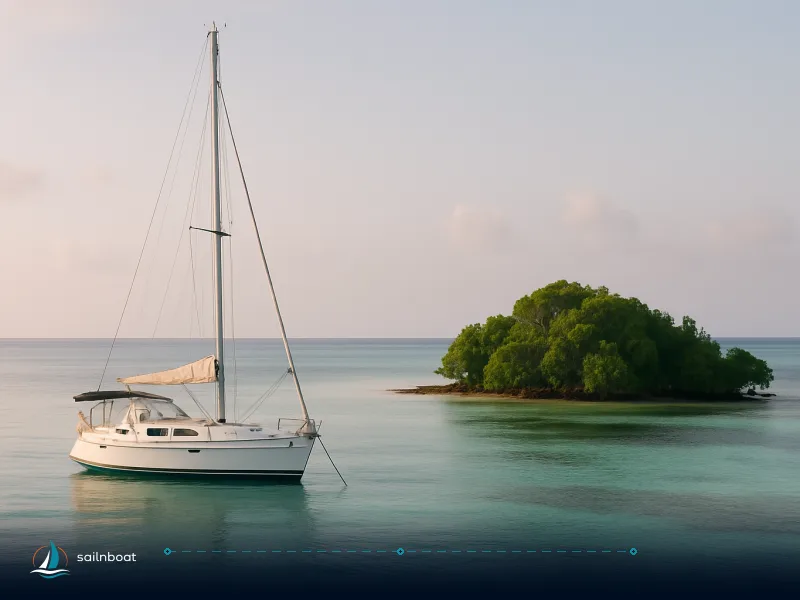
Anaho Bay anchorage sits on Nuku Hiva’s sheltered north coast, but it’s a managed, fragile anchorage — anchor in the designated 12 m zone off the white sand beach and expect a 10‑boat capacity. Do this and you protect the only fringing reef on the island, avoid local fines or requests to re‑anchor, and keep access to the buoyed dinghy channel clear.
Safe Arrival Procedures to Anaho Bay
Anaho Bay is straightforward to find on charts (approx. 08°49′S, 140°03′W) but you must approach with local rules and hazards in mind.
Navigational Approach
- Use up‑to‑date electronic charts plus a paper backup. Key visual marks from the Sailing Directions are Motu Haane (a sugar‑loaf islet visible offshore) and the conspicuous sandy beach at the head of the bay; identify them before committing to an entry. Older pilotage (Pub.126) also notes safe anchor positions and variations in depth across the bay—consult it en route.
- Keep well off the fringing reef on the western head; rocks with depths under 2 m lie near the head of the bay and a small reef fringe dries in places. Cross the entrance slowly and confirm depth on the echo sounder as you close the beach.
- Approach during daylight. The dinghy landing channel is buoyed but the buoys do not always line up perfectly; at night the submerged rocks make landing hazardous. Plan your arrival and landings for daytime.
Entry Considerations
- Check local weather and swell before you enter. Anaho is sheltered from E–SE trade direction, but when winds back to NE or when long‑period ground swell arrives, the bay will feel the roll and some anchoring positions become uncomfortable. Expect squalls and onshore gusts, often before dawn.
- Respect the local anchoring allocation. The municipal tourism guide specifies a quota of 10 boats for Anaho; if the bay is full the Kaniho restaurant on the beach can advise on space or alternatives. The guide is clear: anchoring is allowed in the designated areas only (anchor in 12 m depth and not below in the protected zone). Have an alternative plan to move to another north‑coast bay or to Taiohae if necessary.
Recommended Anchoring Depths and Holding Conditions
This is where charts, local instructions and cruiser reports converge — understand all three before you drop the hook.
Optimal Depths
- Local regulations and the tourism service direct you to anchor in the designated 12 m zone off the white sand beach and not below that depth inside the protected area; this rule exists to protect the coral and the bay’s ecology. Treat this as the first priority.
- Cruiser logs and compendia report very good holding on sand/mud between about 11–16 m in the commonly used spots; some official pilotage publications list additional anchorages in 20–30 m for larger vessels, but these are outside the local 12 m protected anchorage and can be exposed. Use those deeper spots only if you need them and you understand the swing circle.
Holding Conditions
- The bay floor is predominantly sand and mud with patches of coral near the fringing reef. Holding in the sand/mud patches is generally very good; avoid dragging over the coral heads or beaching on the white sand where locals request protection. Cruiser experience shows successful holding with ample scope (see next section for guidelines).
Techniques for Stern‑Tying and Setting a Second Anchor
Anaho’s swell and occasional onshore gusts make a stern‑tie or a second anchor a sensible precaution — especially to limit chain scour over coral and to stabilise your motion near the beach.
Stern‑Tying Techniques
- Set your primary bow anchor in the sand with a standard test (reverse under power) and leave at least 5–7:1 scope depending on conditions. For most cruisers in Anaho the recommended scope used by others has been long (e.g., 50–70 m reported), because of the variable swing and swell.
- Prepare a long, buoyed stern line (floating 3‑strand or braided line 10–30 m depending on beach distance). In moderate swell, send a crew ashore in the dinghy with the line and secure it to a robust tree or rock above the high‑water mark. Use a stern chafe guard and a snubber or bridle to reduce shock loads. Local crews and cruisers commonly use stern ties to keep the boat’s weight off coral patches.
- Keep the stern line under constant tension but not taut — you want to limit fore‑aft motion while leaving room for chain movement and tidal variation. Monitor the shore attachment for rot or slippage; trees in Anaho are mature but always pick a large, healthy trunk and bury the line around a natural feature rather than a small branch.
Setting a Second Anchor
- If you prefer not to stern‑tie or conditions make a stern‑tie hard, set a second bow anchor (a “V” or 45° spread) to reduce swing and keep the boat aligned for the predominant swell direction. Use two suitably sized anchors and separate rodes; test each one before leaving the deck. On boats where the depth is around 12–16 m many cruisers drop a second lightweight anchor (kedge) to maintain position in variable gusts.
Quick decision checklist
- If the bay is crowded or the channel alignment would line you up with other boats, prefer a stern‑tie to reduce the swing circle. If landing onshore is difficult (heavy surf), prefer a double‑anchor arrangement and keep the dinghy ready.
Swell and Thermal Wind Considerations
Understanding what drives the motion in the bay keeps your nights comfortable and your dinghy safe.
Swell Patterns
- The Marquesas get long‑period ground swell from the S–SW with occasional fronts producing 2–3 m swells across the archipelago; even on the leeward side these swells can wrap into anchorages. Anaho is generally sheltered from direct trade wind sea, but moderate swell sometimes enters the bay — expect a bit of roll at times. Cruiser reports grade the bay’s motion typically between light to moderate roll depending on swell direction.
Thermal Winds (Sea Breezes and Squalls)
- The regional pattern is E/SE tradewinds commonly 12–20 kts, with local sea‑breezes or funnel gusts in afternoons and occasional squalls that can gust higher, especially before dawn. These local squalls and valley funneling can produce abrupt onshore gusts; secure loose gear ashore and keep extra scope ready overnight.
Shore Landing Options and Local Interactions
Anaho is inhabited and the community actively manages the anchorage. Land respectfully.
Dinghy Landing Spots
- Use the buoyed channel into the main beach; expect submerged rocks beside the channel and buoys that sometimes rope together and do not perfectly align with the safe line — plan your approach in daylight and with one person in the bow watching depth. The tourism guide warns not to beach in the area reserved for helicopter rescue; follow signage or local instruction.
- At low water some beaches shrink considerably; time your landings for mid or high tide if you need to carry supplies ashore. Bring fenders and a long painter line for the dinghy — surf can kick up suddenly.
Engaging with Local Residents
- Introduce yourself on the beach, ask before walking on private land, and follow the tourism service’s requests: do not dump trash ashore, consider contributing to local trail upkeep, and respect that many services are run by small, family operations. The Kaniho restaurant is the local focal point for cruisers and can advise on anchorage space and local customs. Donations to community activities are welcomed.
Provisioning Options in Anaho Bay
Expect limited reprovisioning — but useful local sources do exist.
Local Markets and Farms
- Kaniho restaurant on the beach sells prepared food and sometimes fresh produce; the tourism guide lists contact details for the restaurant and notes they can tell you whether the 10‑boat quota is already reached. Several small farms nearby (notably the farm operated by locals mentioned in cruiser logs) sell fruit and vegetables by arrangement — a short walk or dinghy hop will usually find what’s available that day. Cruiser reports name individual locals (for example “Roger”) who run small farms and will sell fruit and taro; these are informal, cash transactions and availability is limited.
Tips for Provisioning
- If you need a larger reprovision (groceries, hardware, fuel), plan a run to Taiohae (the island’s main town) before heading to Anaho or arrange a transfer — Taiohae has the supermarket and services. Bring cash in Pacific Francs for small purchases in Anaho and be ready for limited opening hours at local establishments.
Practical checklist before dropping anchor
- Approach by day, identify Motu Haane and the sandy beach.
- Verify the bay isn’t already at the 10‑boat quota; if in doubt contact Kaniho on the beach (details in local mariner guidance).
- Anchor in the designated 12 m zone on sand/mud; avoid fringing reef and coral patches.
- Prepare a stern line and dinghy painter, test both; consider a second anchor if swell or gusts are predicted.
- Use the buoyed dinghy channel for all landings and avoid the heli landing area; carry cash for local produce.
Quick comparison: anchoring setups for Anaho Bay
| Setup | Typical depth used in Anaho | Pros | Cons | When to use |
|---|---|---|---|---|
| Single bow anchor (standard) | 11–16 m (sand/mud) | Simple, minimal crew | Bigger swing circle; chain may cross coral | Short stays in calm conditions, few boats |
| Bow anchor + stern‑tie | 11–16 m (shore tie) | Small swing, stabilises boat, reduces chain scour | Requires dinghy/shore crew and suitable trees | Best when close to beach, to protect coral, or in crowded bay |
| Double bow anchors (45°) | 12–20 m | Limits swing without shore access | More rode/anchors to handle | When surf prevents stern‑tie or no strong trees ashore |
| Deep single anchorage (20–30 m) | 20–30 m (offshore) | Room to swing, deeper water for larger vessels | Often outside protected zone, potentially exposed to current/swell | Larger commercial vessels or when local zone is full and conditions allow; follow local guidance. |
Final note: Anaho is one of the Marquesas’ best leeward anchorages but it’s also small, managed and ecologically sensitive. Follow the local 12 m anchoring rule, leave no trash, respect the buoyed dinghy channel, and use stern lines or a second anchor to protect the reef and keep your nights comfortable.
Frequently Asked Questions
Approach in daylight, use up‑to‑date charts and GPS, keep well off the fringing reef on the bay's west head, and identify Motu Haane and the sandy beach head before committing to anchor.
Follow the local guidance and anchor in the designated 12 m zone off the white sand beach; many cruiser reports note good holding in roughly 11–16 m on sand.
Set your primary anchor in sand with good scope, then send a long stern line ashore to a strong tree or rock; if needed, deploy a second bow anchor at a wide angle to reduce swing.
Trades from the E/SE prevail (commonly 12–20 kts); Anaho is leeward and sheltered from direct trades, but long‑period swell can wrap into the bay and onshore gusts or squalls are possible.
Use the buoyed dinghy channel marked into the beach; avoid the area reserved for helicopter rescue landings and watch for shallow, sunken rocks near the channel.
Yes but limited: Kaniho restaurant on the beach and small farms nearby sell fruit and veg; for groceries and full reprovisioning go to Taiohae on the south coast.
Written by
Sailnboat Editorial
The Sailnboat editorial desk covers yacht and boat chartering worldwide — routes, bases, seasons, boat types, paperwork and the practical costs that decide a trip. We are a charter marketplace, not a boat owner or a local agency: what we sell is judgement and support, so our guides are written to help you make a decision, not to sell you a specific boat. Every guide is checked against live operator and marina data before it goes out.
Fact-checked against live operator and marina data, and published under our editorial standards. Last reviewed: .