Mastering Sailing Knots: Step-by-Step Guides for Charter Crews
Practical, numbered photo drills for the eight sailing knots every charter crew needs — bowline, cleat hitch, round turn & two half hitches, reef knot, figure‑eight, clove hitch, sheet bend and rolling hitch.

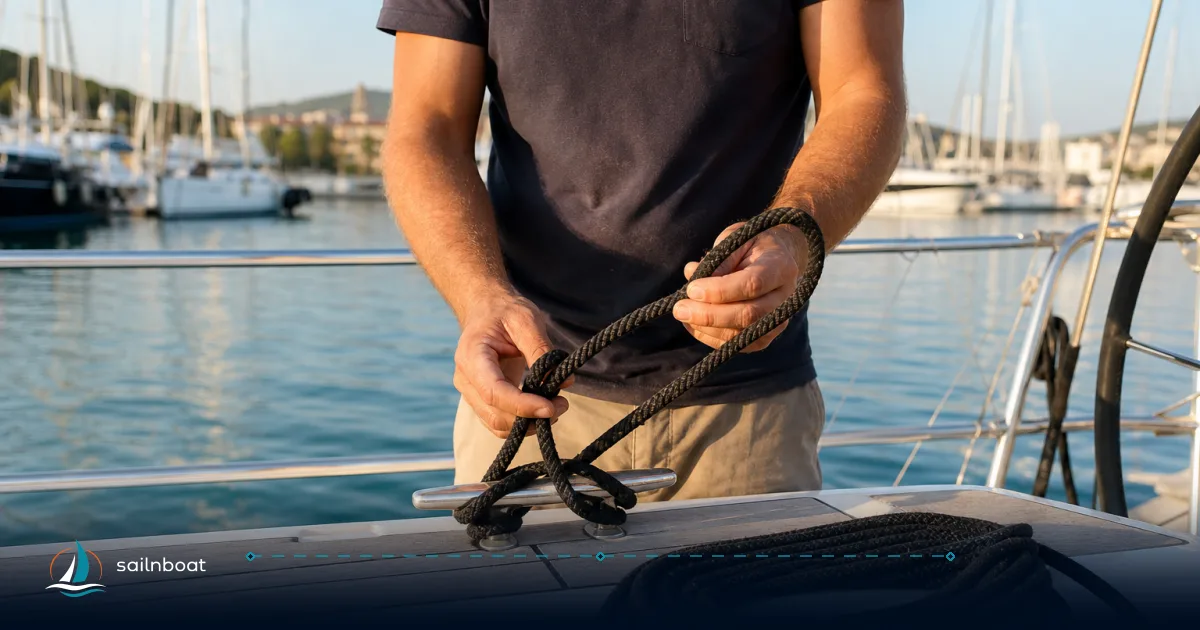
Sailing knots how to tie: you can learn the eight knots every charter crew needs with short, numbered photo drills and a few focused practice sets so you can tie them quickly and correctly under pressure.
Introduction to Essential Sailing Knots
Being able to tie a handful of reliable knots makes routine tasks faster and emergency tasks safer. The eight knots covered here — bowline, cleat hitch, round turn & two half hitches, reef (square) knot, figure‑eight stopper, clove hitch, sheet bend and rolling hitch — are the ones most charter crews will use repeatedly, from securing fenders to joining a spare line or stopping a halyard from running through a block. These knots are standard teaching items in seamanship courses and are chosen because each performs a distinct, practical job aboard.
Quick comparison (one‑page):
| Knot | Primary use aboard | Security / notes |
|---|---|---|
| Bowline | Fixed loop for mooring, rescue | Strong and unties after load; dress carefully. |
| Cleat hitch | Tie to a deck cleat | Quick, releasable; must be dressed correctly. |
| Round turn & 2 half hitches | Secure to post/ring | Takes load in the turn, hitches lock it. |
| Reef knot | Join similar thin lines, reefing | Use only for non‑critical joins; can capsize. |
| Figure‑eight | Stopper at block/cleat | Simple, reliable stopper. |
| Clove hitch | Temporary fastening to a post/rail | Fast and adjustable; can slip if load shifts. |
| Sheet bend | Join two lines of different thickness | Reliable bend; use double sheet bend for large differences. |
| Rolling hitch | Take a lengthwise pull on a line or adjust tension | Resists sliding along a spar or another line. |
Bowline Knot: Step-by-Step Guide
The bowline gives a fixed loop that will not slip under load yet is usually easy to untie. It’s the go‑to loop for mooring a small boat, temporary rescue harnesses and securing a line around a piling.
Tying the Bowline
- Form a small overhand loop in the standing part with the working end on top (the “rabbit hole”).
- Pass the working end up through that loop (the rabbit comes out of the hole).
- Wrap the working end around the standing part (the rabbit runs around the tree).
- Bring the working end back down through the loop (rabbit returns into the hole).
- Dress the knot: snug the loop so the collar lies flat and the tail is at least a few cm long. Photo: Step 1 — show the small loop; Step 2 — working end through loop; Step 3 — around standing part; Step 4 — back through loop; Step 5 — dressed bowline.
Common mistakes
- Loop orientation reversed so the knot capsizes under load — always form the initial loop with the working end on top.
- Tail too short; under load the knot can work loose. Leave a sensible tail and secure if necessary.
Practical applications
- Tying a rescue loop, attaching a mooring to a piling or forming a non‑slipping loop to lead a sheet. The bowline is widely taught because it is robust and unties after being loaded.
Practice drill
- Practice tying the bowline multiple times on a length of line similar to what you will use on board, then try tying it blindfolded to build confidence and dexterity. Alternate hands to build dexterity. Use a coloured tail to check dress and tail length.
Cleat Hitch: Step-by-Step Guide
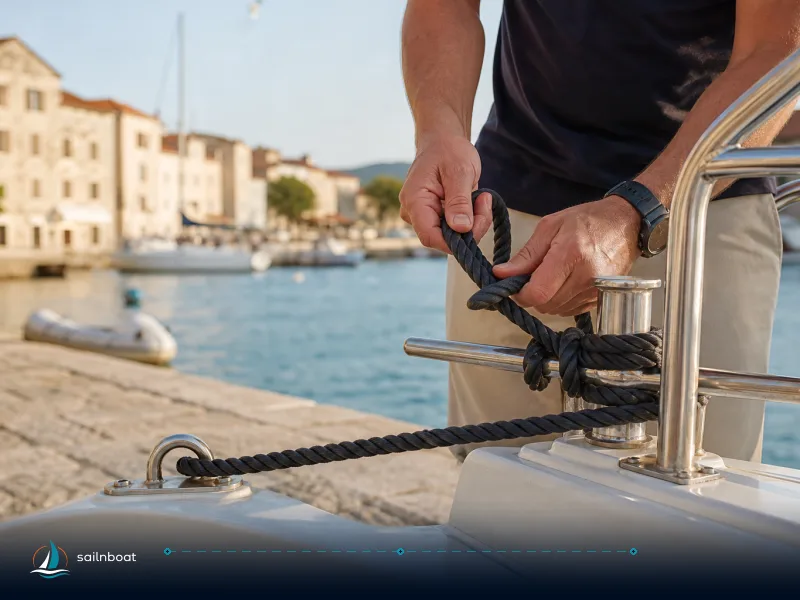
The cleat hitch secures a line to a horn cleat on dock or deck. It must be fast and reliable with a clean release.
Tying the Cleat Hitch
- Lead the line over the center of the cleat so the standing part is toward the load.
- Make a simple figure‑eight across the cleat horns: one turn under one horn, over the top, then under the opposite horn.
- Finish with a locking half hitch (twist a loop and hook the working end under it) to prevent the figure‑eight from slipping. Photo: Step 1 — line over cleat; Step 2 — figure‑eight; Step 3 — locking half hitch.
Common mistakes
- Skipping the locking hitch: on a slippery line or changing load the figure‑eight alone can slip.
- Crossing wraps so the horn faces are not fully loaded — dress the wraps snug and flat.
Practical applications
- Mooring short‑term, setting spring leads, fender lines and leaving the boat at a dock. Use the locking hitch for long waits or when tide/current changes.
Practice drill
- Practice three figure‑eights and a locking hitch on different types of cleats (dock, horn, recessed) until you can tie and release a cleat hitch within 10 seconds with one hand.
Round Turn and Two Half Hitches: Step-by-Step Guide
This is a go‑to for tying to a ring or post where the line may already be under load.
Tying the Knot
- Take a round turn (wrap the line fully around the post once so the turn takes most of the load).
- With the working end, form the first half hitch around the standing part and snug it up.
- Add a second half hitch in the same way and dress the two hitches tight against the round turn. Photo: Step 1 — round turn; Step 2 — first half hitch; Step 3 — second half hitch.
Common mistakes
- Not taking a full round turn; the turn halves the strain and prevents the hitches from slipping.
- Leaving the hitches loose — they must be snug to lock against the round turn.
Practical applications
- Short‑term mooring to a post, tying a dinghy bow to a piling, or securing an anchor warp to a cleat when loads vary.
Practice drill
- Tie the round turn + two half hitches five times using line sizes 8 mm and 12 mm so you recognise how the knot dresses with different diameters.
Reef Knot: Step-by-Step Guide
The reef (square) knot joins two similar lines for non‑critical work such as reefing or bundling.
Tying the Reef Knot
- Cross the right working end over and under the left standing part (as in a simple knot).
- Then cross the opposite end the same way (left over and under right) so the two bights lie flat against each other. Tighten by pulling both standing parts. Photo: Step 1 — first cross; Step 2 — second cross; Step 3 — dressed reef knot.
Common mistakes
- Tying a granny knot (mirror of the reef) which slips more easily.
- Using the reef knot as a bend for dissimilar or loaded lines — it can capsize and fail under shifting loads.
Practical applications and caution
- Good for reefing cloth or tying a temporary bundle where loads will be steady and small. Do not use the reef knot as the primary way to join two lines under load — use a sheet bend or double sheet bend instead.
Practice drill
- Tie the reef knot then pull the standing parts hard to observe how it behaves; practice both reef and granny knot so you can tell the difference by feel.
Figure‑Eight Stopper Knot: Step-by-Step Guide
A compact stopper that prevents a line running through blocks or out of a cleat.
Tying the Knot
- Make a single loop by passing the working end over the standing part.
- Pass the working end around the standing part and back through the original loop, forming a figure‑eight.
- Dress and tighten so the knot sits flat and the tail is visible. Photo: Step 1 — start loop; Step 2 — follow shape to form eight; Step 3 — tightened stopper.
Common mistakes
- Tightening into a small, hard lump that’s hard to untie — keep the tail accessible.
- Using too thin a line where the knot becomes small and can slip through a block — increase tail or use an additional stopper.
Practical applications
- Stopper for halyards, prevent sheets from running through a block or to protect a line’s end when hauling.
Practice drill
- Tie the figure‑eight 30 times and then pass it through a typical mainsheet block to check fit.
Clove Hitch: Step-by-Step Guide
Fast, adjustable hitch for temporary attachments to posts, rails or stanchions.
Tying the Clove Hitch
- Pass the working end around the post and cross over the standing part.
- Make a second wrap parallel to the first and feed the working end under the second wrap.
- Pull snug and dress the wraps so they lie flat and parallel. Photo: Step 1 — first wrap; Step 2 — second wrap; Step 3 — tuck and dress.
Common mistakes
- Crossing the wraps incorrectly so the hitch collapses under change of direction.
- Relying on a clove hitch for a long‑term load; it can slip if the loading direction changes.
Practical applications
- Securing fenders to stanchions, temporary lashings, or as a quick lash while rigging.
Practice drill
- Tie the clove hitch on posts of different diameters (stanchion vs piling) until you can consistently dress it so the wraps lie flat.
Sheet Bend and Rolling Hitch: Step-by-Step Guides
Two different but essential techniques: a bend to join lines, and a hitch for taking a lengthwise pull.
Tying the Sheet Bend
- Form a bight in the thicker or standing line.
- Pass the working end of the second line through the bight from behind.
- Wrap it around both parts of the bight and tuck it under itself; for lines of very different diameter, finish with a second turn (double sheet bend). Photo: Step 1 — bight; Step 2 — pass second line through; Step 3 — wrap and tuck (double variation).
Common mistakes
- Using just a single sheet bend for very dissimilar lines — add the second turn to prevent slipping.
Practical applications
- Joining a spare line, rigging a temporary painter, or connecting different materials (polyester to natural fibre).
Tying the Rolling Hitch
- Wrap the working part around the object or line twice so the wraps sit parallel.
- Cross and bring the working end back around, tucking it under the last wrap to form a bite that resists sliding.
- Dress the turns tight and load progressively to test grip. Photo: Step 1 — two wraps; Step 2 — cross and tuck; Step 3 — dressed rolling hitch.
Common mistakes
- Loose initial wraps — the rolling hitch needs tight, parallel turns to hold.
- Using the rolling hitch where a fixed anchor is required; it’s for longitudinal adjustment and should be inspected under load.
Practical applications
- Towing adjustments, taking a retrieval load along a mooring line, or tailing on to a jammed sheet to shift load.
Practice drills and safety tips
- Deliberate reps: short sessions of 10–20 minutes with focused repetition are more effective than long unfocused drills; aim for sets of 10–30 reps per knot until the sequence is automatic. Many instructors recommend practicing knots until you can tie them blindfolded or one‑handed for those used frequently under pressure.
- Simulate conditions: practice on wet line, with gloves and one hand to reflect real‑world constraints.
- Check tails and dress: a well‑dressed knot is safer; always leave a sensible tail and route it so chafe is minimised.
- Know the limits: every knot reduces line strength; some (reef knot) are poor under shifting loads — choose the correct knot for the job.
Start your drill plan (30 minutes)
- 0–10 min: Bowline (10 reps normal, 5 blindfold) and cleat hitch (10 reps, one‑handed).
- 10–20 min: Round turn & two half hitches (10 reps), clove hitch (10 reps on different diameter posts).
- 20–30 min: Figure‑eight (15 reps), sheet bend (10 reps including double bend), rolling hitch (10 reps). Record time to complete each knot and aim to reduce by 20% over three sessions.
Closing note
These eight knots cover the common tasks you will face on a charter: loops, hitches, bends and stoppers. Practice deliberately, focus on dress and tail length, and run the short drills above before you leave the dock — you’ll save time and avoid preventable problems once you’re sailing. For step‑by‑step animations and alternative methods (slipped variations, double bends), consult recognised seamanship guides and animated tutorials widely used in sail training.
Start practicing these knots to ensure safety and efficiency on your next sailing adventure.
Frequently Asked Questions
Bowline, cleat hitch, round turn and two half hitches, reef knot (square knot), figure‑eight stopper, clove hitch, sheet bend and rolling hitch — each has a specific role aboard: fixed attachments, joining lines, stops and tensioning.
Make a small loop, pass the working end up through the loop, go around the standing part, then back down through the loop and snug the knot—dress and set it so the collar sits flat.
Common errors are skipping the initial figure‑eight turns, failing to use a locking half hitch or making the wraps cross incorrectly; these allow the line to slip under changing loads.
Use a reef knot only to join two ends of the same or similar thin lines for non‑critical bundles or reefing sails; it is not reliable as a bend under heavy or shifting load.
Short, focused repetitions train the hands to execute the sequence automatically so you can tie under stress or without looking; include one‑hand and blindfold variations to simulate real conditions.
Written by
Sailnboat Editorial
The Sailnboat editorial desk covers yacht and boat chartering worldwide — routes, bases, seasons, boat types, paperwork and the practical costs that decide a trip. We are a charter marketplace, not a boat owner or a local agency: what we sell is judgement and support, so our guides are written to help you make a decision, not to sell you a specific boat. Every guide is checked against live operator and marina data before it goes out.
Fact-checked against live operator and marina data, and published under our editorial standards. Last reviewed: .