Cleat Hitch Masterclass: Secure Your Docking Techniques
A cleat hitch is the standard knot to secure a line to a dock cleat; this masterclass shows exactly how to tie, dress, test and back it up with a half‑hitch or snubber.

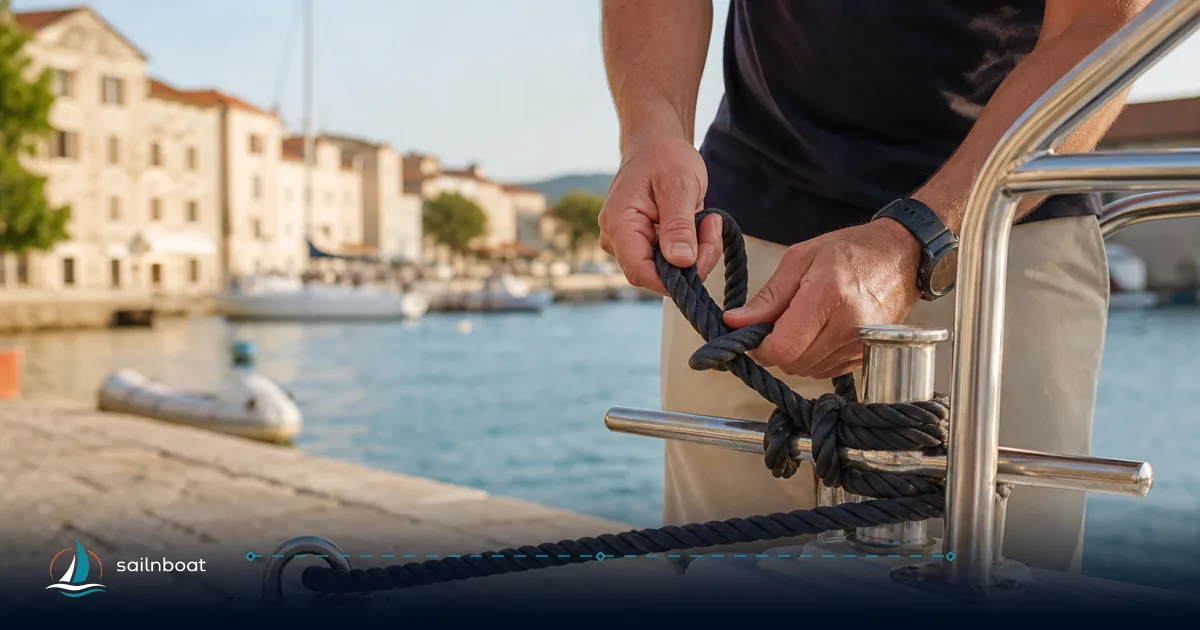
Start with the outcome: a properly tied cleat hitch holds under steady load, is quick to release when you need to depart, and can be backed up with a safety half‑hitch or snubber when conditions demand. Tie the line toward the boat, form a figure‑eight over the horns with an initial turn around the cleat base, and lock the tail with a half‑hitch — that sequence is the cleat hitch in practical terms and the one most seamanship trainers demonstrate.
How to Tie a Cleat Hitch
A cleat hitch secures a line to a horn cleat using an initial base turn, a figure‑eight across the horns, and a locking finish so the tail cannot work loose.
Step-by-Step Instructions
- Lead the line toward the boat (the bitter end should be on the dock or on deck, depending on whether you’re cleating off the dock or the boat).
- Take one full turn around the base of the cleat (this removes most of the initial load and prevents the wraps from jumping off the horns).
- Cross over the top of the cleat and bring the line under the opposite horn, then back over the cleat in a figure‑eight. Make each wrap sit snugly beside the previous one — no overlaps or twists.
- Finish with a locking turn: form a loop (half‑hitch) and pass it over a horn so the tail pulls under the last pass, creating a self‑locking effect when the line is loaded. If the cleat is very small or the tail is short, a half‑hitch with the bitter end around the standing part will add security.
Quick visual checklist as you finish: the figure‑eight is neat, the base turn is in place, the locking half‑hitch seats on the horn and the bitter end is led where you can access it.
Common Mistakes to Avoid
These are the errors that most often let a cleat hitch fail — catch them before you step away from the boat.
- Skipping the base turn. Without it the cleat can act like a pulley and let the wraps slip under load.
- Crossing wraps incorrectly so they overlap or create a pile. Twists reduce surface contact and increase slippage.
- Leaving the finishing half‑hitch off because the line “feels tight.” Under surge or a sudden gust that feeling disappears and the hitch can work loose.
- Using a line diameter that doesn’t suit the cleat — too thin and it can ride up and come off; too thick and it won’t seat cleanly. Match rope to cleat size.
- Tying a loop that traps both ends on the cleat so you can’t quickly let go if you must depart fast — always keep a clear bitter end path where the helmsman can access it.
Dressing and Finishing a Cleat Hitch
Dressing is the act of arranging the rope and wraps so the hitch behaves predictably under load. Finish is how you lock it.
Techniques for Dressing
- Remove all twists before the first wrap — a twisted line binds and abrades faster. Lay each wrap snug and parallel across the horn; the wrap should not cross over an existing wrap.
- Keep the standing part (the loaded part) and the bitter end separated so the locking half‑hitch can seat cleanly on the horn. If the bitter end is buried under the standing part the lock won’t hold.
- If the cleat has tapered horns or is small, give the final half‑hitch an extra turn or choose the “locking loop” finish that tucks the bitter end under the last turn so it can’t pop free.
Finishing options
- Standard locking half‑hitch (fast and reliable for day use).
- Double half‑hitch or a quick figure of eight with tail tuck for added peace of mind overnight or with high traffic wakes.
Testing the Security of Your Cleat Hitch
A visual check is necessary but not sufficient — always test under load.
- Static tug test: after tying, take a firm, steady pull on the bitter end to set the wraps. Listen and feel for any movement. If the wraps slip, re‑dress and retest.
- Simulated working load: if practical and safe, apply a brief engine or sail load (low revs or a short backing of sail) to check how the hitch behaves under actual strain — watch for creeping or camming. Testing under load is common practice, but confirm the procedure with your operator or training guidelines.
- Recheck after a short period: lines settle and adjust under load; come back and retighten if necessary. Marked slippage soon after tying is a sign the hitch wasn’t dressed correctly.
If the hitch moves during testing, add a locking half‑hitch or replace the line with correctly sized line — don’t rely on friction alone.
When to Use a Safety Half‑Hitch or Snubber
A cleat hitch is rapid and usually secure for short‑term and fair‑weather mooring. Use additional measures when conditions raise risk.
- Use a safety half‑hitch when: you expect repeated surges (ferry wash, tidal race), when leaving the boat unattended for several hours, or if the bitter end is short. A single or double half‑hitch behind the cleat substantially reduces the chance of the tail working free.
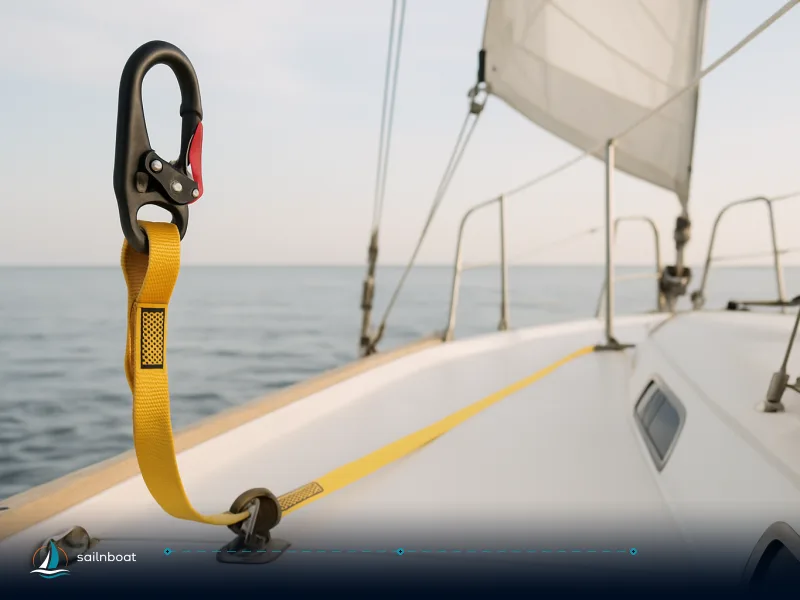
- Use a snubber when: you want shock absorption to protect cleats and mooring hardware — snubbers (elastic or nylon looped lines rated for the load) take peak shocks and reduce chafe on the primary dock line. Secure the snubber to a strong point on the dock or the boat and lead it to the cleat with a few turns; finish the cleat hitch as normal.
- Overnight or heavy weather: combine a cleat hitch with a snubber and a safety half‑hitch for redundancy. The combination separates shock absorption (snubber) from holding security (cleat hitch + half‑hitch).
Choosing the Right Line for Cleat Hitches
Line choice affects holding, stretch, abrasion resistance and how well the hitch seats.
- Material: three‑strand nylon or double‑braid nylon is widely recommended for dock lines because nylon’s stretch absorbs shock loads. Polyester has lower stretch but higher abrasion resistance; polypropylene floats but is less abrasion resistant and stretches less than nylon.
- Diameter by boat length: diameters are chosen relative to boat size and cleat geometry — common practical guidance is:
- Small dayboats / up to ~6 m: ~10–12 mm
- Coastal cruisers / ~6–9 m: ~12–14 mm
- Larger yachts: 14 mm and up depending on displacement and cleat size These ranges are widely used as a starting point; always match the rope to the cleat horns so the wraps seat cleanly.
Table — Quick comparison: common dock line materials and practical notes
| Material | Typical behaviour | When to choose |
|---|---|---|
| Nylon (3‑strand / double braid) | High stretch, excellent shock absorption | Most docklines and moorings where shock is expected. |
| Polyester | Low stretch, high abrasion resistance | When you need minimal stretch and good wear resistance. |
| Polypropylene | Low cost, floats, lower abrasion resistance | Short‑term use or where flotation is desired; not ideal for heavy loads. |
Practical notes on bitter end and spare tails
- Leave a comfortable working tail after the final half‑hitch so you can re‑tie if needed; in many cases you’ll want more if you expect adjustments. The exact length varies by operator and situation. If the tail is too short, add an extra half‑hitch or run the line so you can access the bitter end from the boat.
Quick drill to practice with your crew
- Assign roles: one person holds the bitter end, another dresses the wraps.
- Repeat three times: base turn, figure‑eight, locking half‑hitch. Time the team — the goal is a secure, repeatable routine under two minutes for a standard dock cleat.
- Practice the static tug and simulated load test described above. Rehearse adding a snubber and a safety half‑hitch quickly.
Closing note: a cleat hitch is a simple knot but where crews trip up is in dressing, finishing and testing — not the figure‑eight itself. Spend time with your crew practicing the sequence, choosing the correct line, and running the load test until everyone does the finish cleanly and can tell if the hitch is seating properly. Practice now so you don’t learn the hard way on a busy marina dock.
Practice tying a cleat hitch today to ensure your crew's safety while docking.
Frequently Asked Questions
Lead the line toward the boat, take one turn around the cleat base, make a figure‑eight over the horns, and finish with a locking half‑hitch over one horn so the tail secures under tension.
Typical errors are skipping the base turn, crossing the figure‑eight incorrectly, leaving loose wraps, and failing to add a locking half‑hitch or snubber when conditions are rough.
Dress by removing twists, lay wraps snugly beside each other on the horns, and finish with a neat locking half‑hitch; add a snubber or extra half‑hitch for shock absorption or overnight mooring.
Load the line gradually with a firm tug, observe for slippage and movement, then test under a representative working load (brief engine or wind load) and recheck after 10–15 minutes.
Use them in tidal areas, heavy swell, when leaving a boat overnight, or whenever lines will be subject to repeated shock loads.
Three‑strand or double‑braid nylon is widely used for dock lines because its stretch absorbs shock; choose diameter relative to boat length and cleat size (see article for ranges).
Written by
Sailnboat Editorial
The Sailnboat editorial desk covers yacht and boat chartering worldwide — routes, bases, seasons, boat types, paperwork and the practical costs that decide a trip. We are a charter marketplace, not a boat owner or a local agency: what we sell is judgement and support, so our guides are written to help you make a decision, not to sell you a specific boat. Every guide is checked against live operator and marina data before it goes out.
Fact-checked against live operator and marina data, and published under our editorial standards. Last reviewed: .