How to Heave To: A Step-by-Step Guide for Charter Skippers
A practical, stepwise procedure for how to heave to, with three common setups—slab-reefed main/backed jib, drogue assist and motor‑assist—plus drills and safety checks.

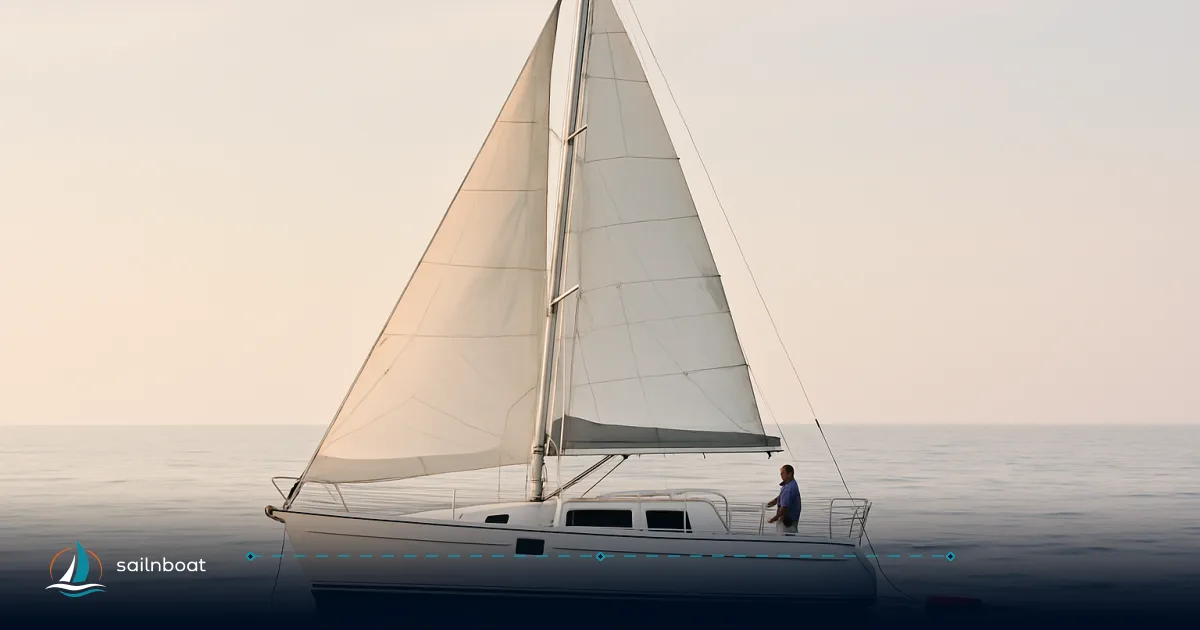
Heaving-to is the maneuver that lets you pause a yacht under sail—reducing motion, workload, and making your vessel manageable in rough or uncertain conditions. By backing the headsail, easing or reefing the main, and setting the helm so forces balance, you slow the boat’s progress and drift gently to leeward. If you need to reef, tend to a crew member, or stabilize in a squall, knowing how to heave to is one of the most valuable skills you can develop as a charter skipper.
Understanding the Heaving-To Maneuver
What is Heaving-To?
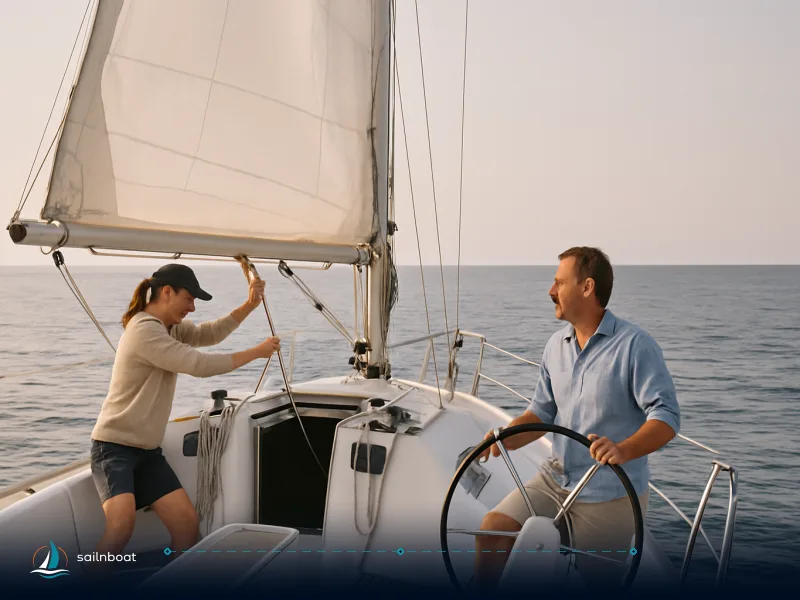
Heaving-to balances sail and rudder forces so the yacht slows to a crawl but remains controllable. The backed headsail pushes the bow off the wind, while the rudder, lashed to leeward, keeps trying to turn it back up. The main, eased or reefed, helps reduce drive. The result: the yacht sits at a steady angle to the wind, drifting slowly to leeward, with minimal helm work.
Why Use It
- Rest and recovery: Gives the crew a break from steering and sail trim.
- Reefing/repairs: Steadies the platform for safe work on deck.
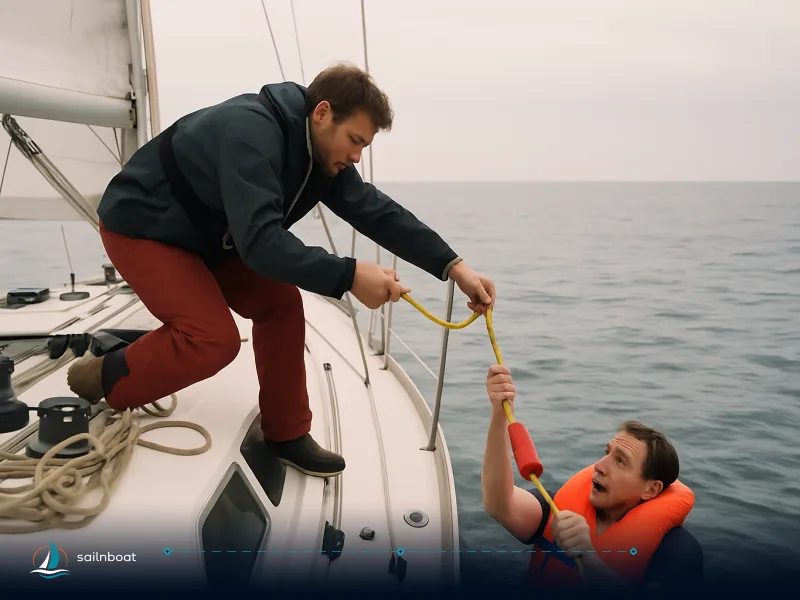
- Man overboard (MOB): Provides a stable, slow-drifting platform for recovery preparations.
The Practical Physics
- Backed headsail: Pushes the bow away from the wind.
- Rudder (tiller to leeward, wheel to windward): Tries to turn the boat back up toward the wind — the two forces cancel out and the bow settles.
- Main eased or reefed: Reduces drive, helping the boat settle into a balanced drift.
Typical Drift Rates and Leeway Angles
When hove-to, most charter monohulls drift downwind at about 1–2 knots in moderate wind (15–20 knots true), with a leeway angle of 30–60° off the wind. Catamarans and high-sided hulls often drift faster and may not settle as predictably; some skippers report higher rates, but always test your specific boat. In squalls or with more windage, drift can increase noticeably. Use these numbers as a planning range, but monitor your own track.
Step-by-Step: Heaving-To with Slab-Reefed Main and Backed Jib
This technique works for most charter sloops and is the best starting point for most crews.
Preparation for Heaving-To
- Brief the crew: Assign roles—helm, sheet handler, lookout. Confirm who will secure the helm and monitor position.
- Assess sea room and hazards: You need ample clear water to leeward—many skippers look for at least several boat lengths, and often a half mile or more in open water. The actual safe margin depends on wind, current, hull, and local hazards. Avoid lee shores, traffic, and fixed objects downwind. Always check tide and current set.
- Reduce sail if needed: Reef the main in rising wind. Large genoas may need furling or partial furl before backing, to avoid overpowering the bow.
Executing the Maneuver — Step by Step
- Sail close-hauled: Main reefed or ready, working headsail set. Crew in position.
- Tack but back the jib: Tack as normal, but do not release the working jib/genoa sheet on the new tack. The headsail backs against the mast.
- Ease the main: Let the main luff or just fill, or set a slab reef if needed. The goal is to minimize forward drive while keeping some balance.
- Set the helm: Helm hard to leeward (tiller to leeward, wheel to windward). Secure with a bit of give for adjustment.
- Fine-tune: Adjust main and jib trim until the yacht settles at a steady angle (usually 30–60° off the wind), drifting at 1–2 knots or as your hull dictates. In gusts, you may need to reef further or adjust the jib.
Getting Out of It
To resume sailing, release the jib from aback, trim it for the new tack, center the helm, and trim the main. If you reefed down, bring the main up gradually and resume course. Practice the sequence until it’s routine for your crew.
Trade-offs and Adjustments
- Large headsails: On boats with big roller genoas, you may need to furl the genoa and heave-to under a deeply reefed main, or use mizzen + main on a ketch. Not every hull balances identically.
- Catamarans: Many cats do not settle as reliably when hove-to as monohulls. Drift rates can be higher and the angle less predictable; expect more leeway and consider deploying a drogue if needed.
- Heavy-displacement yachts: These typically settle more easily, with slower drift and less yaw, but always test your own hull in moderate conditions.
Sea Room: How Much is Enough?
There is no universal minimum, but you need enough leeward space to account for your boat’s drift and any increase in wind or current. Many skippers look for at least several boat lengths to a half mile of clear water as a baseline, and more in heavy weather or unfamiliar areas. If local hazards or traffic are present, increase your margin. Always confirm for your boat, crew, and conditions.
Using a Drogue or Sea Anchor in Heavy Seas
When to Use a Drogue or Sea Anchor
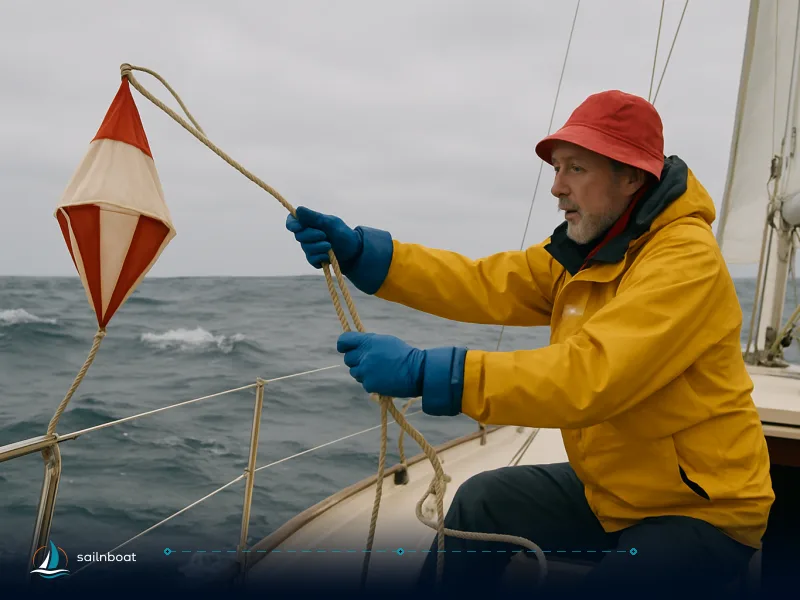
A drogue or sea anchor adds drag astern (drogue) or from the bow (sea anchor), stabilizing the boat when seas are large or breaking, or when you need to control drift more tightly than sail balance alone allows.
Drogue vs. Sea Anchor
- Drogue: Towed from the stern, slows the boat and keeps the stern to the waves. Used when running off before large seas — it is an alternative to heaving-to, not an add-on to it.
- Sea anchor: Deployed from the bow, holds the bow into the wind and waves. Used in extreme conditions when stopping the boat is essential.
Benefits
- Drag-stabilized: Less sensitive to gusts or changes in sea state.
- Prevents pitchpoling or broaching: Reduces risk in breaking seas.
Setting Up a Stern Drogue (When Heaving-To Is No Longer Enough)
- Launch sequence: Deploy from the stern using a strong bridle or dedicated point. Pay out the rode steadily; keep crew clear. Use a trip line or retrieval plan if your drogue requires it.
- Rode length: Many skippers use at least 5–10 boat lengths of rode (e.g., 50–100 meters for a 40-foot yacht), but always check the drogue manufacturer’s instructions and adjust for your boat and conditions. More rode smooths motion and reduces shock loading. Chafe protection is essential.
- Sail configuration: With a stern drogue you stop heaving-to and run off downwind under bare poles or a small storm jib sheeted flat, letting the drogue hold the stern to the seas. Do not try to stay hove-to with a drogue streamed astern — the two tactics pull the boat in opposite directions.
- Monitor the rode: Assign a crew member to watch for chafe, snatch loads, and shock loading. Use chain or abrasion-resistant gear as needed.
Sea Anchor Setup
- Deployment: Launched from the bow, using a dedicated strong point and plenty of rode—often 10–15 times the boat’s length, depending on the system. Sea anchors are less common on charters but are a last-resort option in survival conditions.
- Retrieval: Use a trip line if possible. Retrieval can be physically demanding—practice in calm water first.
Limits and Warnings
Drogue and sea anchor deployment require training and planning. Retrieval can be demanding, and improper setup risks gear failure or injury. Practice with your crew and gear before you need it for real.
Motor-Assisted Heaving-To for Hybrid Yachts
Benefits of Motor Assistance
Adding low engine power to the sail balance gives you tight control of position and heading—valuable for quick recovery (especially in MOB scenarios) or when close to other vessels or hazards. It reduces dependence on perfect sail trim.
How to Perform Motor-Assisted Heaving-To
- Set the heave-to sail plan: Backed jib or storm jib, main eased or reefed.
- Apply measured engine thrust: Use slow forward or astern bursts to fine-tune the boat’s position or reduce drift, combining minimal engine power with sail forces.
- Monitor systems: Keep the engine ready, check for cooling issues or water in the exhaust, especially in rough water.
Trade-offs
Using the engine burns fuel and requires constant vigilance to avoid water ingestion or prop cavitation. It offers control you cannot achieve with sails alone, but always weigh the risks and monitor engine health.
Quick-Reference: Main Steps and Safety Checks
| Step | Action | Key Points |
|---|---|---|
| 1 | Brief crew | Assign roles, confirm lifejackets in rough weather |
| 2 | Assess sea room | Seek at least several boat lengths or more leeward space, more in bad weather |
| 3 | Reduce sail | Reef early, especially large headsails |
| 4 | Heave-to sequence | Tack, back jib, ease main, set helm, fine-tune trim |
| 5 | Monitor drift | Use GPS/plotter to track speed and course over ground |
| 6 | Safety measures | Watch for traffic, confirm all attachments, monitor crew |
| 7 | Prepare for exit | Plan to resume sailing, or deploy/retrieve drogue/sea anchor if needed |
Comparison: Which Setup When?
| Setup | Best Conditions | Why Choose It | Prep Highlights |
|---|---|---|---|
| Slab-reefed main + backed jib | Moderate to strong wind, ample sea room | Fast to set, minimal gear, widely taught | Reef main, crew brief, lash helm |
| Stern drogue (running off) | Large, confused, or breaking seas offshore | Controls speed and keeps the stern to breaking seas once heaving-to stops working | Strong attachments, 5–10+ boat lengths of rode, chafe gear |
| Sea anchor | Extreme/ survival conditions | Holds bow to weather, minimizes drift | Very strong bow gear, long rode, trip line if possible |
| Motor-assist | Crowded waters, MOB, precise station-keeping | Precise control, faster recovery | Engine warm, check cooling/exhaust, prop clear |
Practicing Heaving-To in Calm Conditions
Choosing the Right Location
Pick sheltered waters, well clear of shipping lanes, shallows, and lee shores. Allow a generous leeward margin—even for practice, more space is safer. Choose a time with light to moderate breeze and predictable wind shifts so the crew can observe the boat’s behavior. Many training sessions take place in a wide bay or open area, not in tight anchorages.
Depth and Room
Use an under-keel margin suitable for your boat and the local tide. Many training centers recommend at least 2–3 meters under the keel at low tide, and as much open water as you can manage to leeward.
Drills to Build Crew Confidence
Run these drills until each crew member can perform calmly and in sequence.
Drill A — Basic heave-to
- Start close-hauled, crew ready.
- Execute the heave-to sequence (tack, keep jib sheet, ease main, set helm, lash).
- Hold for several minutes while one crew member inspects sails and another notes position and drift rate, ideally using GPS or plotter.
- Recover: release jib, trim, re-center helm. Repeat until smooth.
Drill B — Reef and heave-to
- Reef the main while sailing, then heave-to and observe the boat’s behavior. Try different reef depths.
Drill C — MOB transition
- From hove-to, practice releasing the jib and powering to a buoy or dummy, then returning to heave-to. This builds timing and clarity for real MOB events.
Training Cadence
Rehearse each drill several times in light conditions and at least once in stronger breeze. Rotate crew roles so everyone learns cleating, lashing the helm, and drogue handling if fitted.
Monitoring Drift
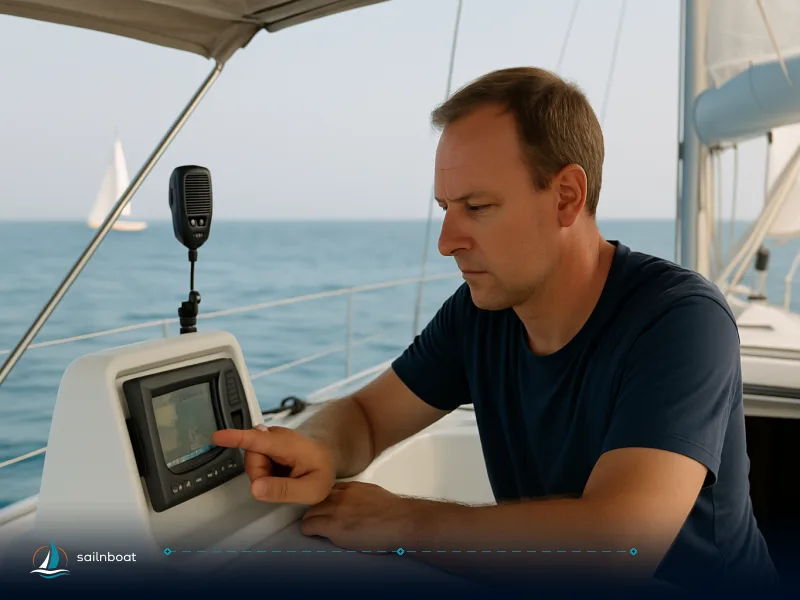
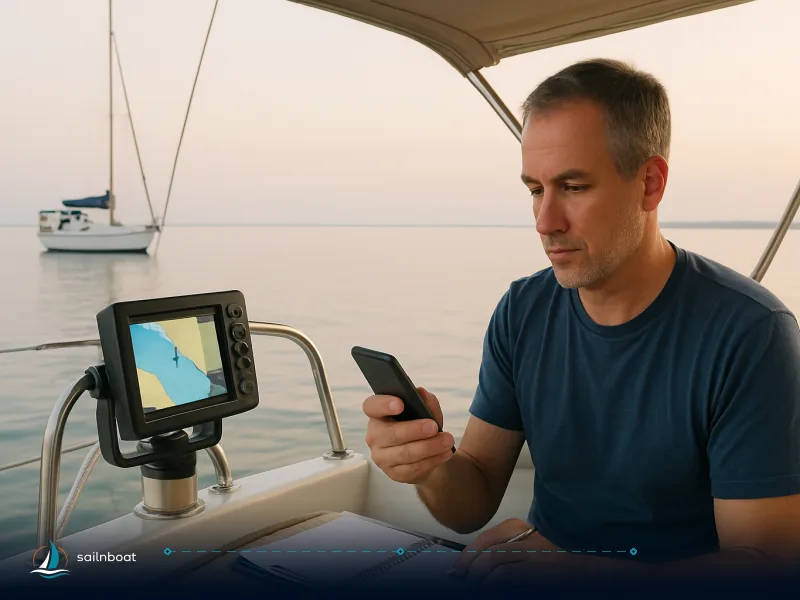
Use your GPS or plotter to track speed and course over ground while hove-to. This gives you an accurate read on drift rate and direction—critical for judging safe sea room.
Safety Considerations and Risks
Identifying Risks
- Insufficient sea room: Heaving-to always results in leeward drift. Never attempt near a lee shore or in confined waters.
- Overpowering: A large headsail backwinded in heavy gusts can force the bow off and break the balance. Reef early.
- Drogue/sea anchor hazards: Rode chafe, snatch loads, and entanglement are real risks. Always use proper attachment points and managed pay-out.
- Engine concerns: When motor-assisting, watch for water in the exhaust, cooling issues, and propeller cavitation.
Safety Measures (Checklist)
- Crew briefed, lifejackets on in rough weather.
- Assign lookout for traffic and GPS position.
- Pre-reef early; stow loose items below.
- Engine ready and fuel available if you may need motor assist.
- Drogue or sea anchor: chafe gear, strong points, retrieval plan ready. Never allow crew to stand over the stern during deployment.
When Not to Heave-To
Do not attempt if you lack sufficient leeward sea room for your boat and the conditions, or if your boat cannot stay hove-to in moderate wind. On some hulls, running off under bare poles or deploying a sea anchor or drogue may be safer. Heaving-to is one of several heavy-weather tactics—choose what fits your boat, crew, and sea state.
Legal and Licensing Implications
No special licence or certification is required to perform a heave-to maneuver on a charter yacht. However, maintaining control of the vessel and demonstrating prudent seamanship is expected by charter companies and, in some jurisdictions, by local authorities.
Troubleshooting: If the Boat Won’t Settle
- Drifts beam-on or yaws: Reduce headsail area, reef main further, or adjust helm angle. Some hulls need a smaller headsail or none at all.
- Cannot balance helm: Make sure the helm is lashed with some give, not locked rigid. Adjust mainsheet tension and helm angle until the boat settles.
- Drift is too fast: Reef more and reduce headsail; if drift is still too fast, a bow-deployed sea anchor lets you lie head-to-sea with far less drift.
- Catamaran won’t settle: Many cats do not reliably heave-to; try a drogue or consider running off under bare poles if sea room allows.
- Ketch/multimast rig: Backing the mizzen or using mizzen + reefed main can help. Test your setup in moderate breeze before you need it in earnest.
Hull and Rig Variations
- Catamarans: Often drift faster and settle less predictably than monohulls. Drogue deployment is common for added stability.
- Ketches and yawls: Heaving-to under mizzen and reefed main is a common approach; experiment to find the best balance.
- Heavy-displacement yachts: Generally settle more stably, with slower drift and less yaw, but always test your own boat.
Testing Your Boat’s Heaving-To Ability
Before a passage, set aside time in open water to test heaving-to. Try different reefing levels and headsail configurations, and measure your drift on GPS. Practice with your full crew so everyone understands roles and adjustments.
Final Checklist Before You Commit
- Crew briefed and roles assigned.
- Sails set to planned reef level.
- Engine ready if motor-assist is an option.
- Drogue or sea anchor rigged only if you know the system.
- Sufficient leeward sea room for your boat, wind, and sea state.
- All crew wearing PFDs in heavy weather.
Frequently Asked Questions
Heaving-to is a way to slow a sailing vessel to a controllable drift by backing a headsail, easing or reefing the main and fixing the rudder so the boat rests at an angle to the wind without continuous steering.
Sail close‑hauled, tack through the wind but keep the jib sheet cleated so it backwinds on the new tack, ease or reef the main until it just luffs in gusts, then lash or hold the helm to leeward; fine‑trim the mainsheet and rudder until the boat balances.
Use a drogue assist when seas are large, confused or breaking and you need extra drag to slow drift, reduce pitch/poling risk or keep the boat aligned regardless of sail set.
Set the sail balance as for a conventional heave‑to, then apply low, steady engine thrust forward or astern as required to hold position and reduce leeway; keep engine ready to adjust during gusts and for recovery.
Key risks include insufficient sea room to leeward, unintended jibes/broaches, rode entanglement (if using a drogue), and losing situational awareness; assign crew roles, check bilge and engine readiness, and monitor position and traffic.
Practice in sheltered water: run the maneouvre repeatedly (sail close‑hauled → tack keeping jib cleated → ease or reef main → set rudder), rehearse lashing the helm, recovery and man‑overboard transitions until each crew role runs smoothly.
Heaving‑to gives you a stable platform for rest, repairs or MOB recovery, reduces steering workload, and—when combined with drogues or sea anchors—helps control drift and pitch in severe conditions.
Written by
Sailnboat Editorial
The Sailnboat editorial desk covers yacht and boat chartering worldwide — routes, bases, seasons, boat types, paperwork and the practical costs that decide a trip. We are a charter marketplace, not a boat owner or a local agency: what we sell is judgement and support, so our guides are written to help you make a decision, not to sell you a specific boat. Every guide is checked against live operator and marina data before it goes out.
Fact-checked against live operator and marina data, and published under our editorial standards. Last reviewed: .